Showing posts with label decorating. Show all posts

6.18.2012

ta da! the nursery!

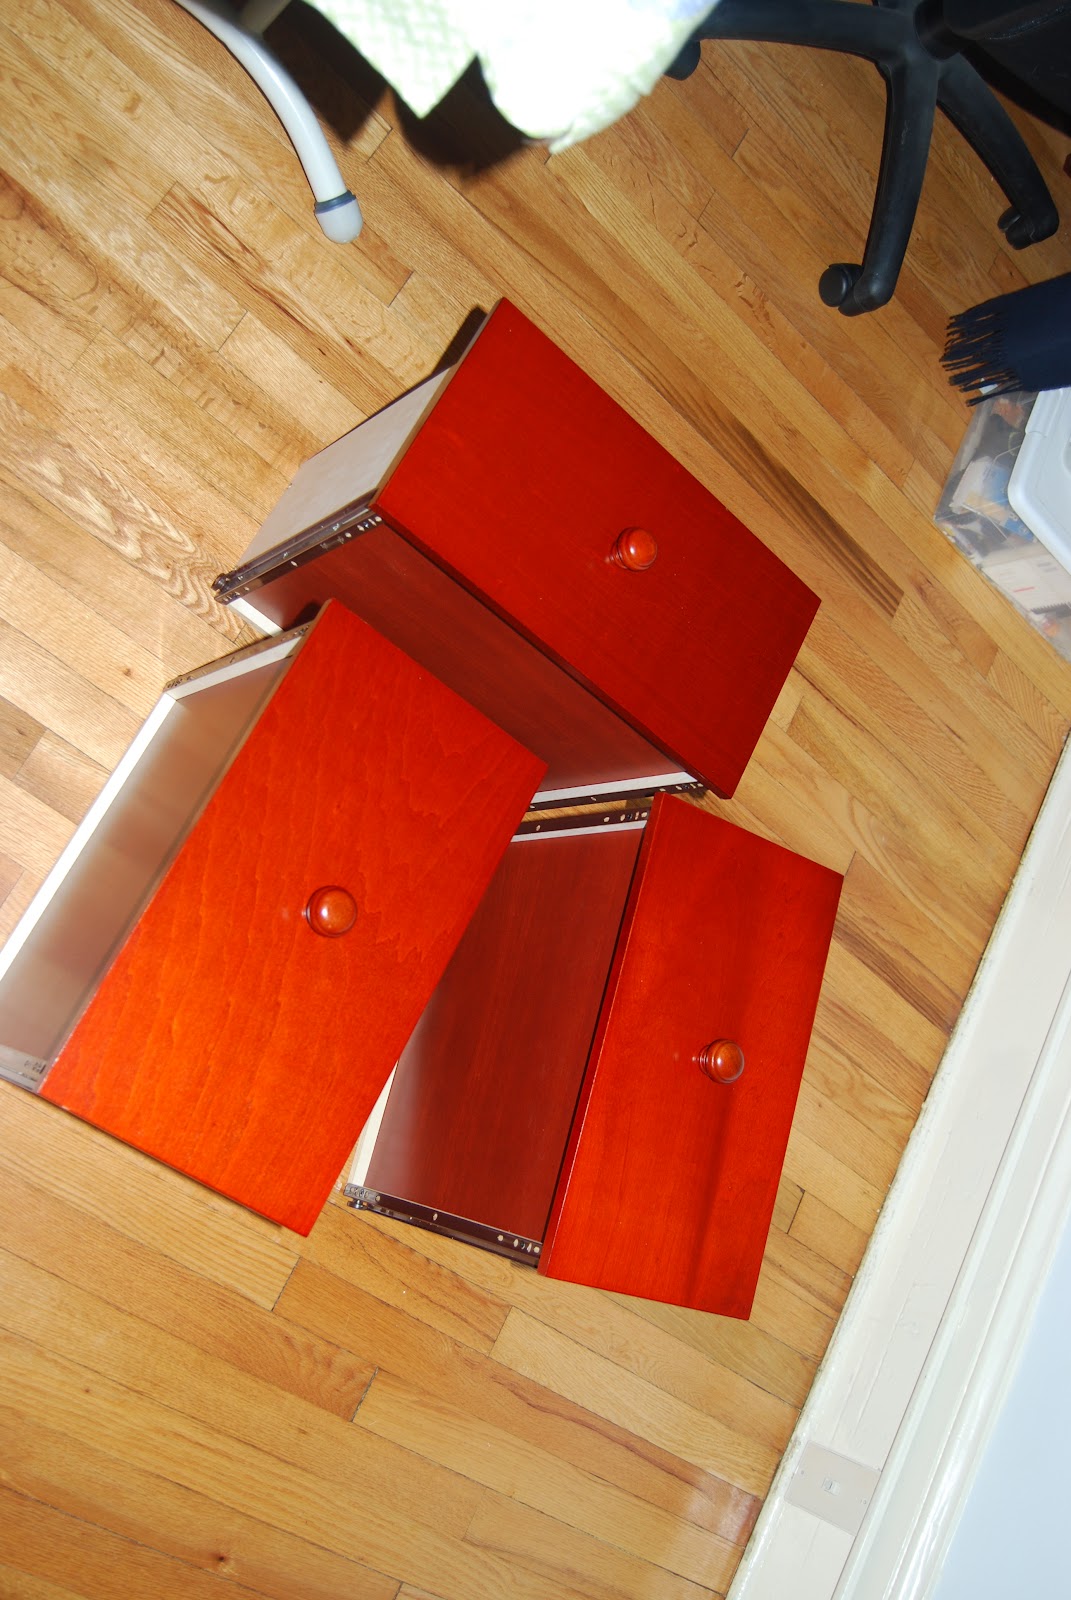
finally... the nursery is 95% complete!  the only thing i want to work on is the "family" bookcase and that will most likely be finished after she is born.  (i will have pictures of her grandparents, great-grandparents, aunts, uncles, and 1st cousin on her bookcase so she will be able to learn who everyone is even though she won't see them as often as if we lived in the same town.)

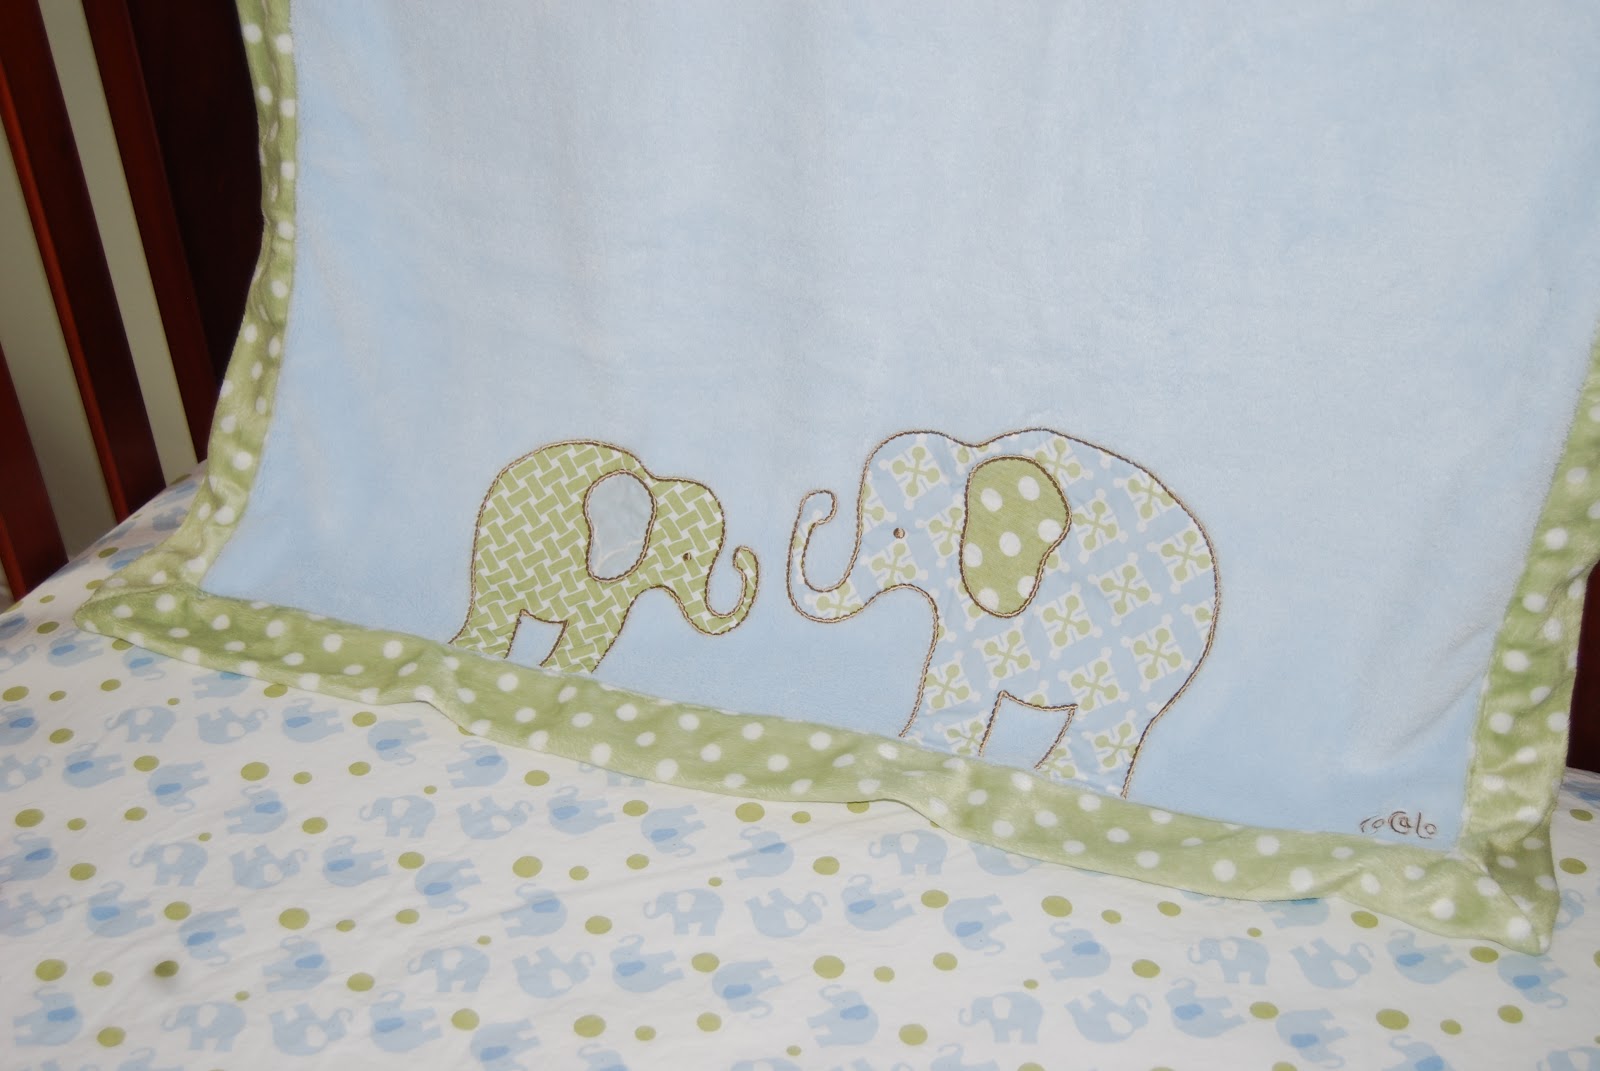
we do not have a lot of choices for paint so what was already in her room is what we stayed with.  i love the green anyway so it worked out just fine.  :)  i chose her bedding before we even knew she was a she.  the girl version was way too pink- think pepto bismol!  my favorite colors are green and blue and i loved the boy version despite the fact we might have (and in fact do) have a girl on the way.  we will definitely make her room more girly when she's old enough to really care.  for now, the bedding is more for me- and i find it calming and relaxing instead of shockingly pink.

i love the elephants and they didn't seem to be overly popular when the bedding was purchased.  now, however, the current line of carter's baby clothes has elephants on them.  they are so sweet!  and trust me, she has plenty of pink clothes to make up for the fact that her bedding isn't pink.  we have been so blessed to receive so much.  i have knitted her 3 hats and a blanket and i have purchased one outfit for her.  everything else we have received as gifts and hand-me-downs.

anyway, i know you want to see her room.  i cannot wait for her to be here so we can use it!

a 4 foot wide door, of course, courtesy of 1938!

 come on in- her big sisters are already inside enjoying the views.

 inside her door- her bookshelf/cube drawers.

her diaper stacker is hanging on the back of the door- it is fashioned from a men's button down shirt.  one of my nurses, lisa, made it for her.

 here is a closer shot.  sorry for the shadow!

her closet filled with diapers, wipes, sleepers, and other goodies.

this will be the family bookcase.  the bag hanging on the door is packed for her for the hospital and the one in the floor is started for me.

 big sister cotton and the crib and diaper pail (the crib was purchased by jay's mom and stepdad and the mattress from his aunt and uncle).  we needed one that would contain odor and couldn't be gotten into by the dogs.  i hope and think we will be pleased.

 the glider (purchased with a few gift cards but mostly a gift from her great mamaw stella) and feeding station.

 the sweet elephant prints above her crib.

 her big sisters approve!

hamper & crib.  we had the hamper and are thankful it has a lid, too.

sweet elephant minky blanket and printed sheet (bedding purchased by her mimi and pops).

adorable plush elephant (from sweet friends) and blue elephant lovey with her monogram (from aunt erin) ready for snuggling.

her womb/sound machine bear from her great-grandparents.

sweet cross and prayer with her name on it from sweet friends.

6.16.2012

crib construction.

so i decided to tackle putting the crib together last saturday while jay was at training for work.  i had pre-determined i would stop at any point that it got too difficult or heavy.  well, i must say that assembling the crib was easier than putting the glider together (which i also did).  everyone keeps saying this is "daddy's job" but he'll have plenty of fun (ha!) putting the swing, bouncy seat, pack 'n' play, etc together.  it only took me a couple of hours to assemble the crib thanks to great instructions and the packaging.  i am so happy with the one we chose.  i had great intentions to take more pictures but got distracted with my progress! :)


6.10.2012

crafts inspired from pinterest.

i know i've said it before... i ♥ pinterest!  i have been working on a quick and easy craft project for mary's room.  i think it turned out super cute and only cost me about $11- i did have a few things on hand already though.

first i made my own mod podge thanks to a recipe i found on pinterest.  i spent 79 cents to make it for myself instead of $11.99 at michael's.  awesome!  want to know how?  check out how to make your own mod podge.

then i just needed a few canvases and some scrapbook paper (i already had these) and some wooden letters, craft paint, and a little craft glue.


then i got to work!  i painted the edges of the canvases a blue color similar to the blue in each piece of paper and similar to her bedding.  i painted the letters white.


then it was time for mod podge.  i had already cut the scrapbook paper to the size of the canvas and they were ready to be applied to the canvas.  i applied a few layers of mod podge over the course of an evening and the next day (sorry, no picture of that step) and then lined up the canvases and measured a little to make sure the letters lined up and then glued them on.

then it was time to hang them up!  i used our laser level and figured out how far apart i wanted them to hang and centered on the wall and carefully measured and hung them up. i think they turned out super cute... so here's a sneak peek of part of her nursery.  (and yes, i realize that the "y" is a little hard to see- it's easier to see in person...)  it was fun to get all arts and crafty- especially for my sweet mary isabelle!


5.30.2012

nesting progress.

as you can see below, our kitchen is tiny. i had to stand in the hall to get the long shots you see in the first two pictures.  but it's functional and we only really have to cook 3 months out of the year (essentially, whenever the boys are on breaks we have  to cook.  i haven't known what to do with this long wall so i moved my "south" definition picture into the kitchen and flanked it with two canvases covered in bright polkadot fabric.  then i put my tiles on the other side similar to how they were below my cabinets in our house.  and then the next day i boiled/sterilized some of Mary's things.  i have made a lot of progress in her room and will take some pictures and post them next week.  hopefully.  but below is some proof that i have finally gotten to nest!

before...


after.

 after.

sterilizing bottles and nipples and pacifiers. 


12.22.2010

evergreen.


11.30.2010

ta-da!

after some malfunctions with the garland hanging of the garland, it finally is secured and up.  it still needs some finishing "fluffing" but our entry way is mostly completed.  (i added a little bit more hot glue to the C on our wreath.  you can never have too much hot glue when it comes to crafts!)

11.24.2010

breaking my own rule.

i hate when people decorate for Christmas before Thanksgiving.  usually.  growing up, we would decorate Thanksgiving night or the days after but never before.  i have tried to do the same... i even complained earlier this month when i was driving home and passed a house with full lights and decor out.  it was the 3rd.  houses were still decorated for halloween.  seriously?

but this year my work schedule prevents me from having much time available for decorating this weekend.  we're taking a one day trip to knoxville for Thanksgiving and then i work the entire weekend.  i would rather be decorating.  or napping.  or, you know, not working!

so i started a little early this year.  just a day, really.  i made a new wreath today as last year's cute yarn wreath fell apart after the wind from one of our blizzards shook it all to pieces.  i knew there was no way to get it back together so i decided to start fresh.  i have also started getting the mantle decorated and even hung the stockings.  but there's still a lot of work to be done.

i did get this year's (and hopefully more to come) wreath idea from another blog.  you can see their picture here.
but here is what i came up with.  i even made the bow- i did not get any bow-making skills from my mother.  (it's most unfortunate.)


12.12.2009

it's beginning to look a lot like christmas...

the stockings are hung by the gas logs with care...


please don't tell me if you think the tree is leaning. don't you dare!


this tree was grown in lansing, nc (ashe co.) and we got a fabulous deal... $35 for this gorgeous, full tree. we had a great experience getting our tree this year and enjoyed decorating it. dave is happy it is christmas time again, too. you can find him most moments under the tree.


11.23.2009

crafting for christmas

so, many of you may or may not remember this post from january this year. i made a yarn ball wreath. it is wintery, not christmas-y. and, if you remember correctly, i made it because i was inspired by this wreath, which found itself in probably every starbucks in america...


it is loved by many knitters all over the country and beyond. (just google search "starbucks yarn wreath" and see what you find, if you are curious.) so, as i may or may not have stated in my january post, i was determined to make one for this christmas.

and i did just that. it definitely isn't as big as the one pictured above, as mine only needs to be one-sided. but, it's pretty big in it's own right. it didn't take too much time, and if styrofoam balls were cheaper, it would have been fairly inexpensive. not that it was expensive to make, but i digress. i have gotten the blog ready for christmas because jay and i will be celebrating some of our family christmases this weekend, but i plan to hang up my wreath when we get back from nashville. want to see it? i like how it turned out.


11.20.2009

view with a room

well, the painting is completed. it only took 2 days and 3 coats and a 10-ft. ladder and the step ladder. and lots and lots of patience. and an air matress. i love the color. it is the color of wet sand, appropriately titled "beach." i should have the new bedding in a couple of weeks, so i will post more pictures then. and speaking of pictures... i need to get some things up on the walls. they are very bare aside from the paint. i did think the darker color might make our big room appear smaller, but it really doesn't. that wouldn't necessarily have been a bad thing, but it does warm it up a bit from the cold off-white they were painted.

here is a photo tour around our room. it begins in the doorway and goes clockwise:


the girls proudly show off their corner.


looks different on every wall, doesn't it? sometimes it looks grey. sometimes brown. sometimes it seems to have a greenish hue. i love it! i can't wait for phase 2.

11.10.2009

new project

hey there, readers. thanks for keeping up with the blog even though it's been ages since i've posted anything. okay. so really just 3 weeks, but that is a pretty big lull in activity. truthfully, not much has been going on around here. just the same old stuff. work. sleep. clean. cook. play with dogs. exercise. speaking of exercise, i had been stuck at the same weight for about 3 weeks. this is called "hitting a plateau." well, i definitely did that. so, finally, this week, i lost a total of -1.6 lbs. yeah! moving on past that weight feels great. now i just need to keep on that trend and find some good workout dvd's for winter (or today when it has rained all day- thanks, ida). i'll take your suggestions anytime on those.

next week i am going to tackle painting our bedroom. i have also found some very cute and fabulously inexpensive bedding to give us an updated look, too. i love finding something i can just toss into my washer instead of having to have it dry cleaned or take it to a laundromat. surprisingly enough, i found it at kmart. it'll be great having our room look like, well, a bedroom instead of a mix and match of what it is now. the paint color is in the eddie bauer collection. it is called "beach." our room is pretty big and i think the darker, warm brown will make the room feel more cozy. i will definitely post pictures as it all comes together. (i think painting our room will serve as my indoor workout for next week...)


8.26.2009

creativity

i wandered around michael's the other day with the intent to get some flowers to make a wreath for my bathroom. yes. my bathroom. anyway... their fall flowers were on sale (i really wanted some summer ones, but they were a bit too pricy, so i opted for the fall ones) and then i thought i could use the wreath outside and then hang it inside. well... i finally got my flowers where i wanted them, stared at it for a day before firing up the hot glue gun, and then i decided to hang it up in the dining room (in place of the picture that doesn't match) to see how it looked hanging up and, well, the wreath has an unintended new home. check it out- for about $20, i made a wreath that i definitely couldn't have bought pre-made (and if i could have, i am sure it would've cost more than $20)...